
How to Use CAT-MIP With Google Vertex AI Studio
Google Vertex AI Studio is an enterprise cloud based tool that provides many common Agentic AI tools on both the command line and using visual tools. This tutorial will briefly explore integrating the CAT-MIP ontology using the visual tools.
Before Getting Started
This tutorial assumes that you have sufficient permissions to:
- Open Vertex AI Studio and create new projects or modify existing ones
- Access your selected download of the CAT-MIP Terminology document and grant Vertex AI Studio permissions to read from that location
- If this is a new Vertex AI Studio Project, you will need the ability to set IAM permissions to allow API Key Generation
- Have permissions to create a new corpus in the Vertex AI Studio RAG Engine
- Have permission to create new or modify existing agents
Please confirm all of the above with your Google Vertex AI Administrator prior to preceding to ensure a frustration free experience.
Process Overview
At a high level there are only a few steps to enable the integration of the CAT-MIP Terminology ontology:
- Log into Vertex AI Studio
- Create a RAG Engine Corpus
- Create a new agent if desired, or modify an existing agent
- Link the newly created corpus to the agent
Log Into Vertex AI Studio
This is a cloud based tool accessible via https://console.cloud.google.com/vertex-ai/
Select an existing or create a new project via the project button near the upper left corner of the browser..
Select an existing project or create a new one.
Create A Corpus
Download the CAT-MIP terminology document and save to local disk, Google Cloud Storage, Google Drive, Slack, Jira, or Sharepoint.
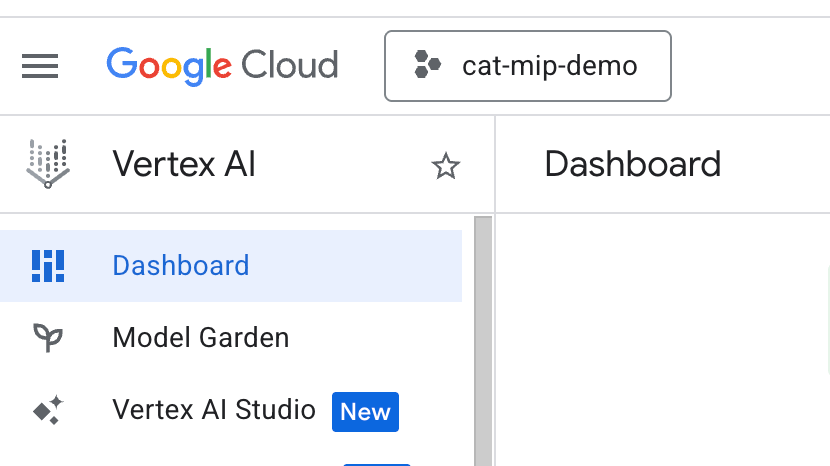
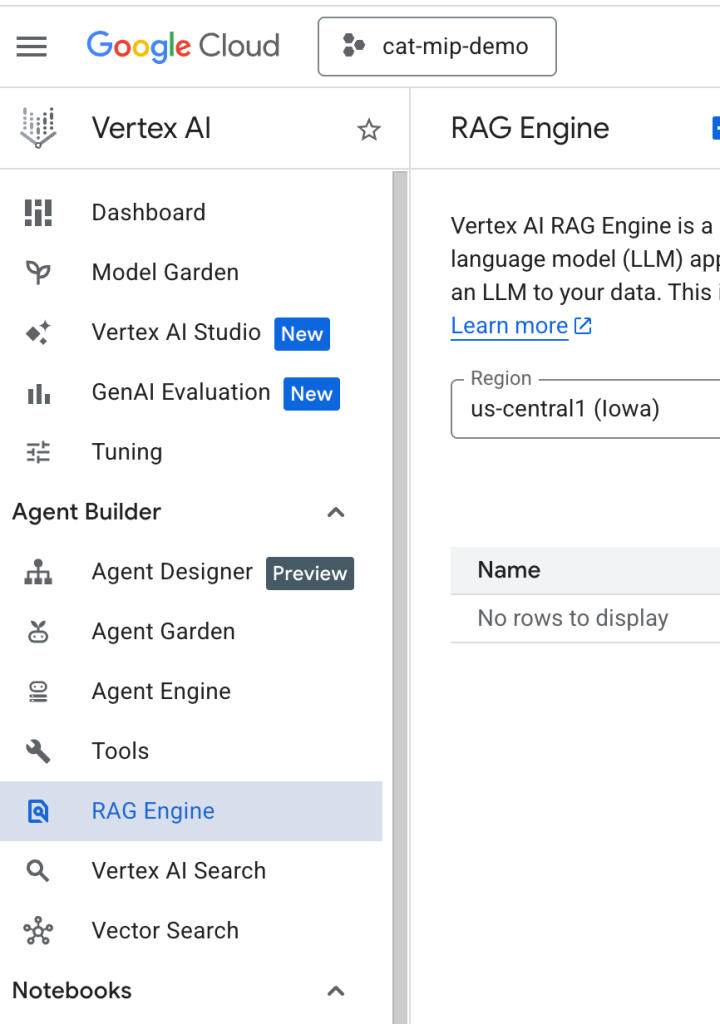
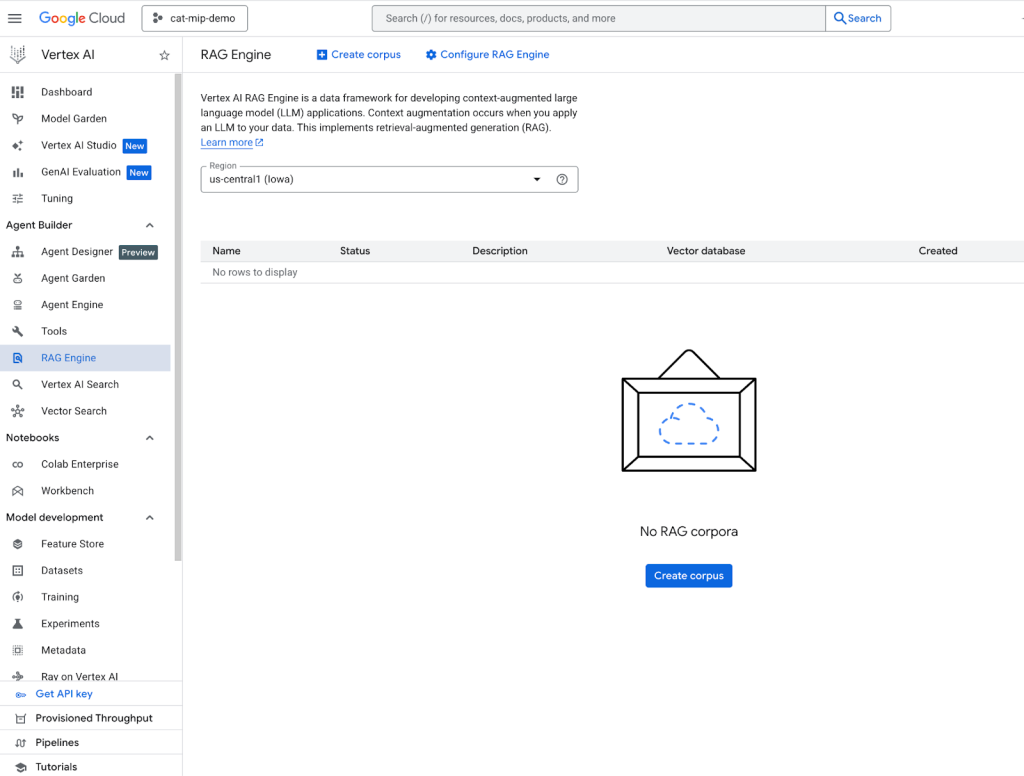
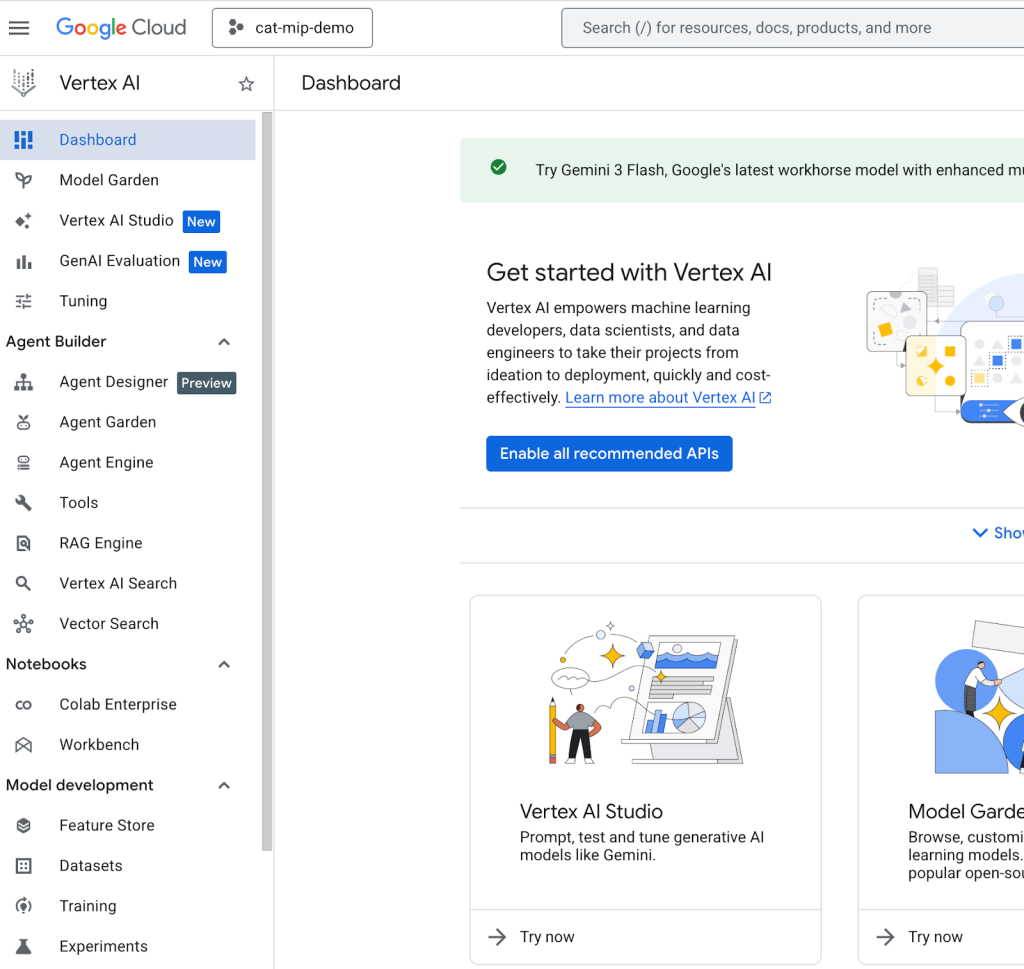
Select and click on the RAG Engine option from the left hand main menu.
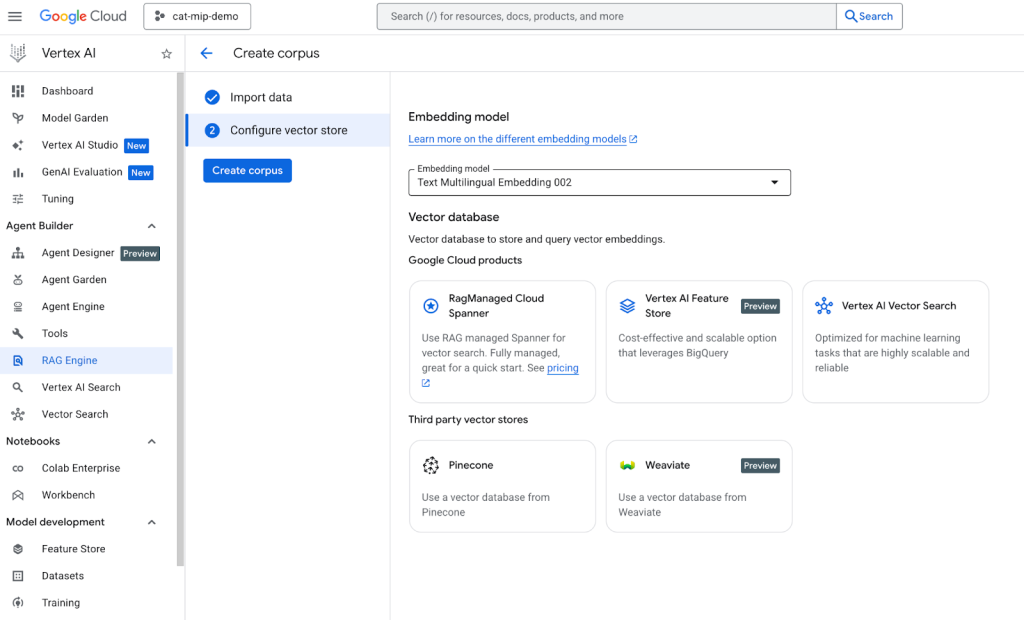
Select the desired Region from the dropdown and press the Create Corpus button.
Select the location where you saved your CAT-MIP Terminology and follow the prompts. Many of these options will require you to grant read permissions to Vertex AI Studio to read the document. Contact your administrator if you need assistance with this or alternatively save a copy of the document to your local drive and use the Upload a local file option.
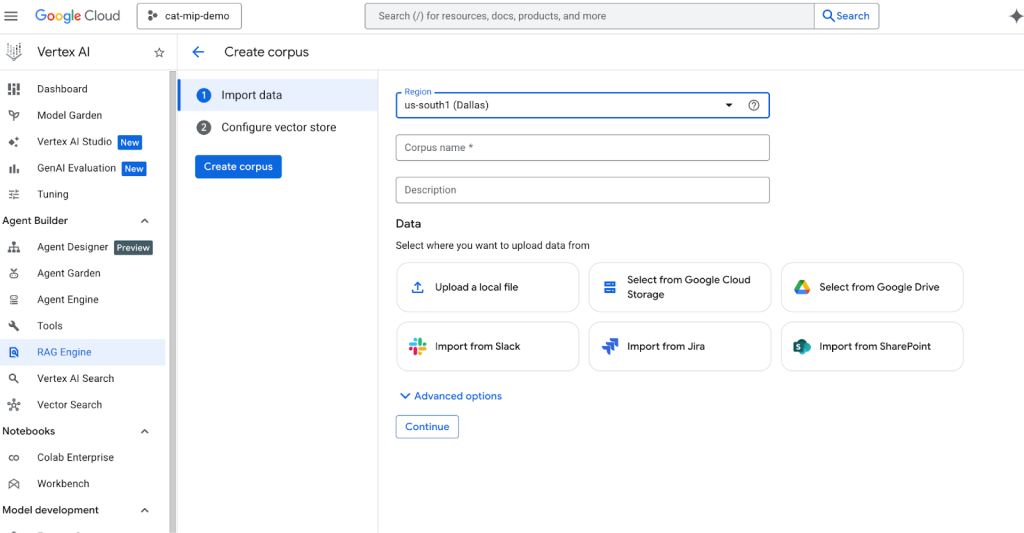
The advanced options allow you to configure a number of chunk and parser options that are beyond the scope of this tutorial.
If you wish to use the default embedding model and vector store, press the Create Corpus button to generate the embeddings and store the results.
OR
Optionally press the continue button to select your desired embedding model and vector store, then press the Create Corpus button to generate the embeddings and store the results.
This process may take a few minutes to complete.
Create Or Modify an Agent
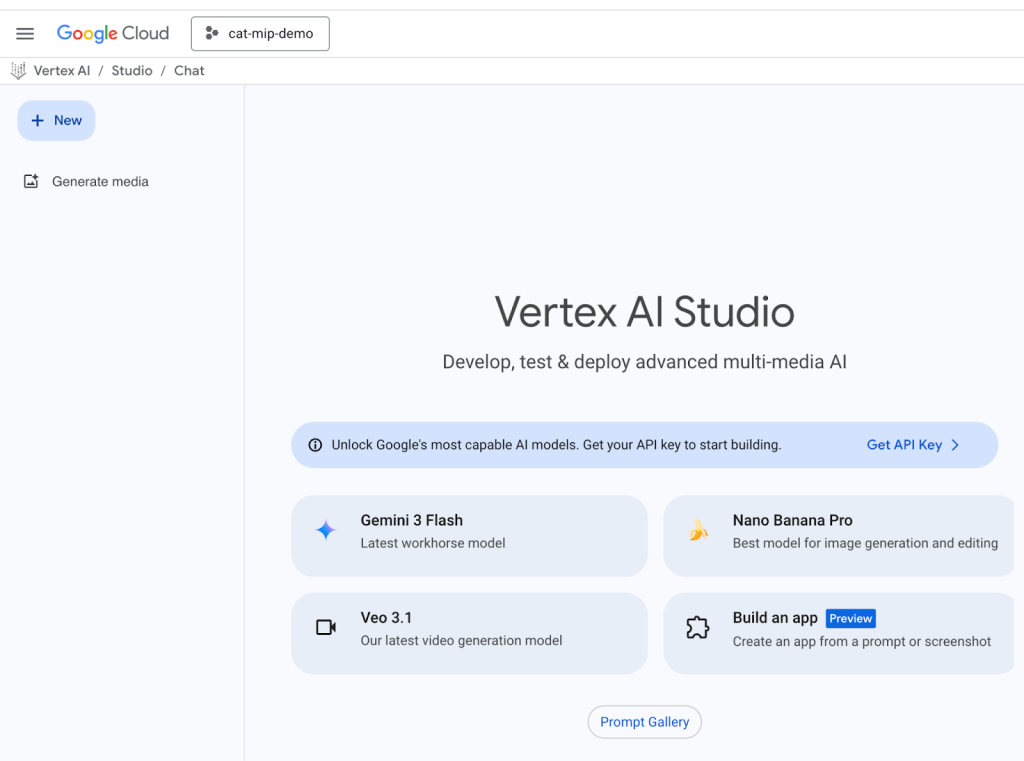
Select the Vertex AI Studio option from the left menu or in the center of the screen.
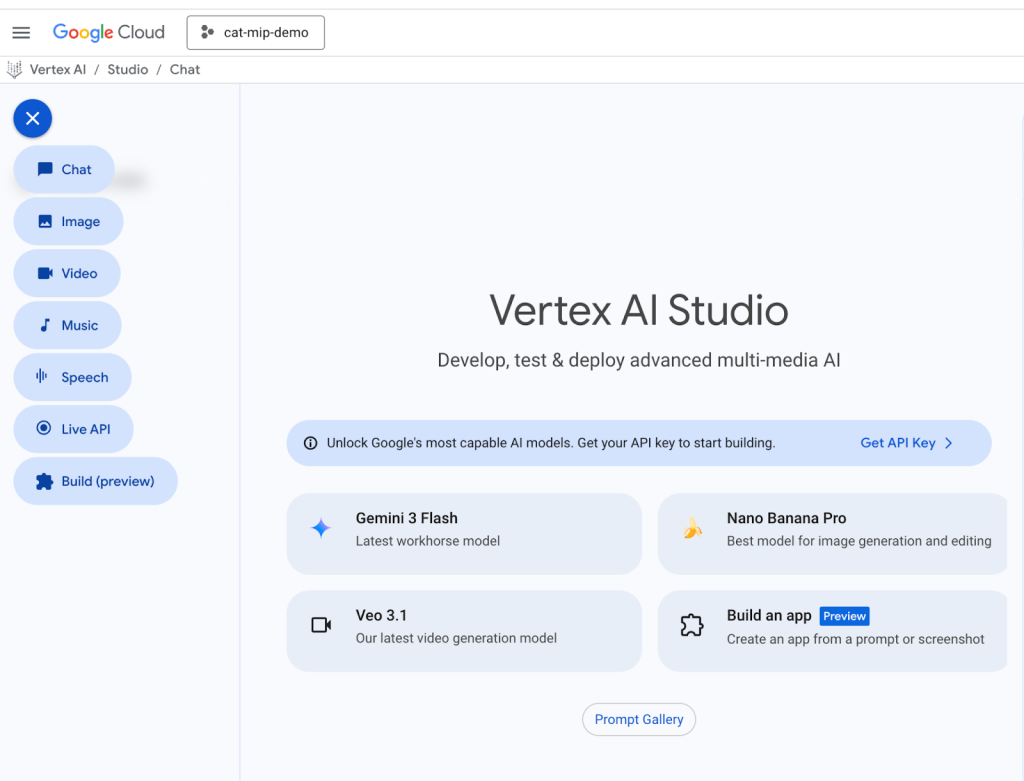
Press the + New button on the top left of the screen and select Chat to create a new chat. Alternatively, select an existing chat.
To give your prompt a new name or to modify an existing name, use the menu to the far right and click on the name of the prompt, “Untitled Prompt” is the default for new ones, and type in a name.
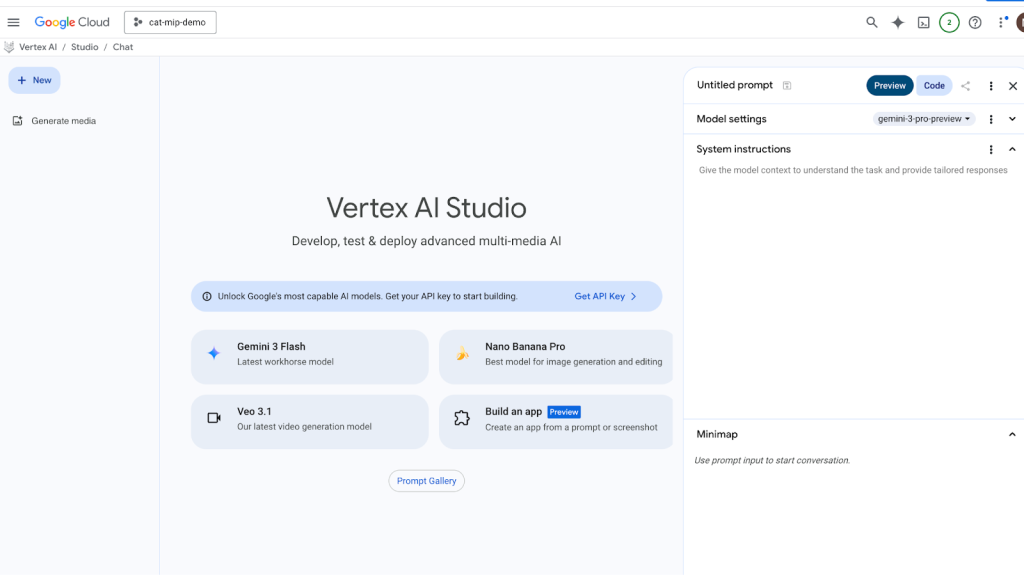
To add the newly created corpus to the chat, expand the arrow on the right side of the screen under the prompt name in the Model Settings row.
By default the prompt will use Google Search as its Grounding context. Click on the slider to turn Grounding: Google Search to the Off position.
To enable our new corpus, slide the Grounding: Your data to the ON position – a dialog will slider over this:
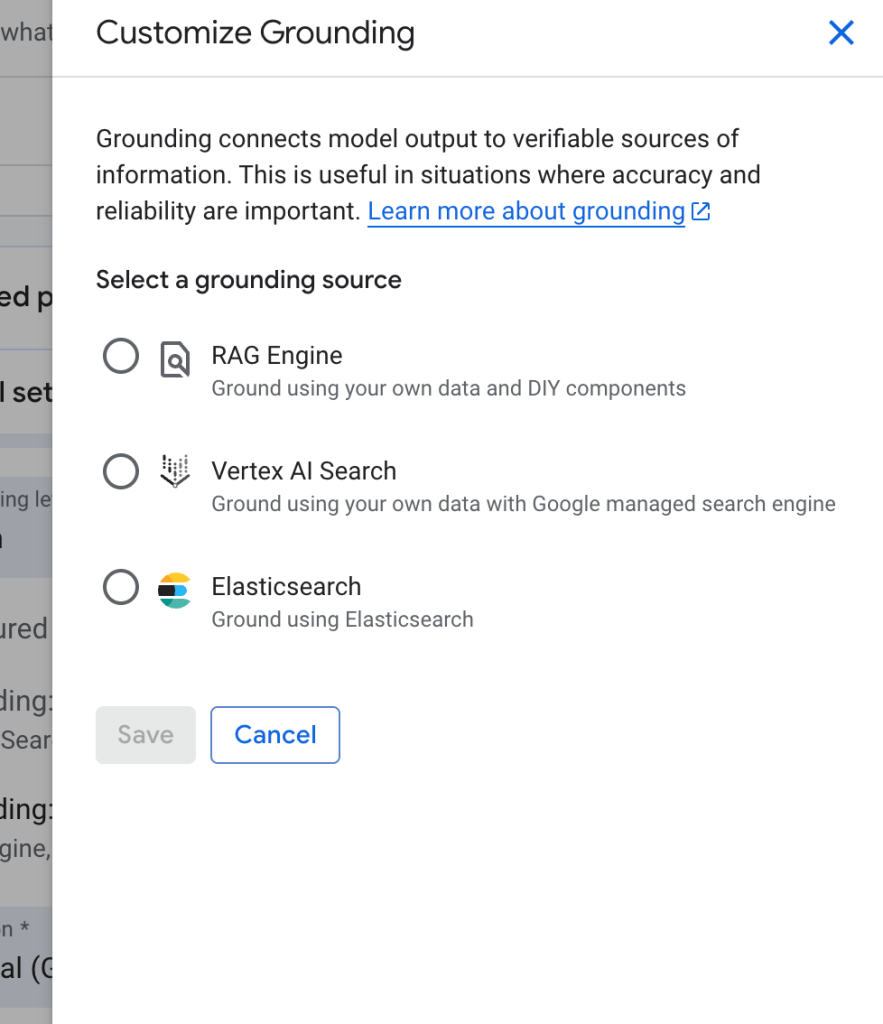
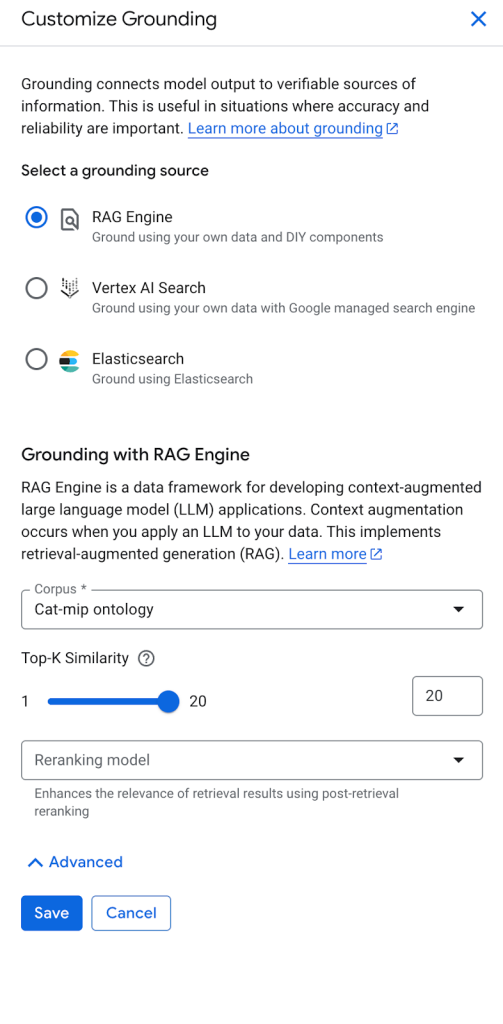
Selecting RAG engine will use your corpus and the Large Language Model you selected to be used for for prompts, without using the Google Search grounding.
You may also wish to add context (‘As an expert in…’, guardrails, things to do and not do, example inputs and outputs, etc.) into the System Instructions section by expanding the arrow to help refine your results.